
Turning Foam and Wood into Ambient Light
A recent TikTok video by @diy_decoration_by_adisa demonstrates a method for creating a chic home light source by gluing Styrofoam balls to a wooden dowel and illuminating the structure with battery-operated LED strip lights. This approach offers a budget-friendly alternative to high-end fixtures, allowing homeowners to achieve an “organic modern” aesthetic without significant financial investment. The project relies on the principle that modern design favors clean lines, natural materials, and geometric forms, which can be replicated using simple craft supplies.
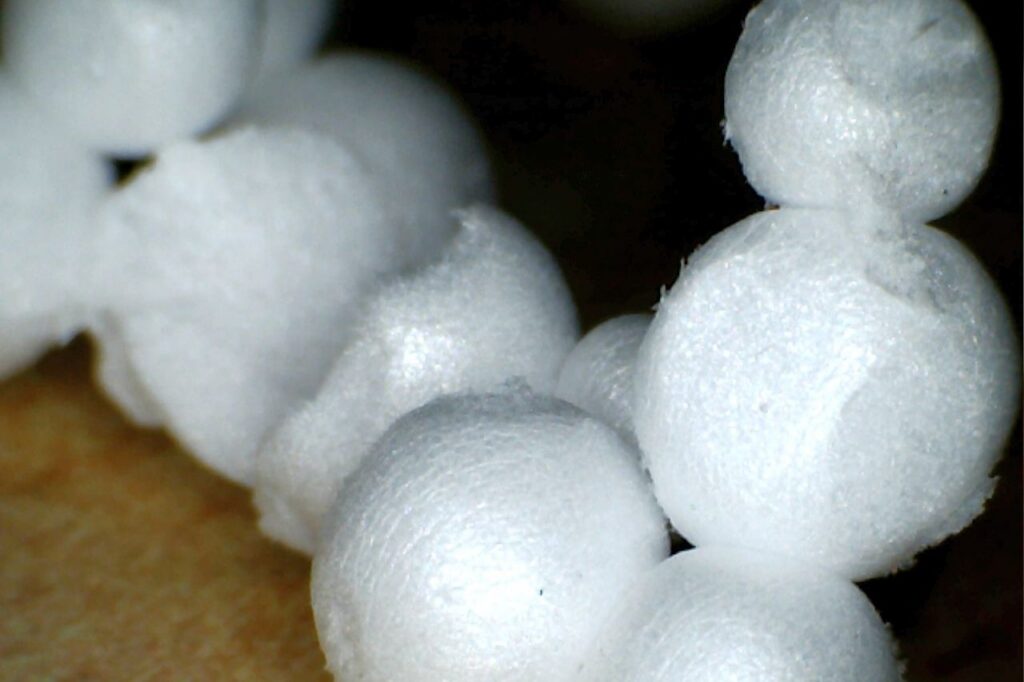
The core of this DIY lamp involves a square wooden dowel, such as the 1-inch-by-36-inch Waddell Hardwood Square Dowel available at Home Depot, serving as the central spine of the piece. According to the demonstration, Styrofoam balls are attached to this dowel to form the main body of the lamp. The use of foam allows for a lightweight structure that can be easily manipulated and arranged to create a specific visual rhythm. While the video features spherical forms, the method is adaptable to other shapes, including hemispheres, flat circles, squares, rectangles, and cones, which are commonly sold at craft stores. Some creators even slice pool noodles to create donut-shaped pieces for a similar effect.
Gathering the Necessary Materials
Before beginning assembly, it is essential to gather all components to ensure a smooth workflow. The primary structural element is the wooden dowel, which must be sturdy enough to support the weight of the foam and the lighting strand. A stable wooden base is also required to anchor the dowel securely, ensuring the lamp stands upright without tipping. For the decorative elements, Styrofoam balls are the standard choice, though any foam shape can be used. The finish is achieved using water-based acrylic paint, which is safe for most surfaces and easy to handle.
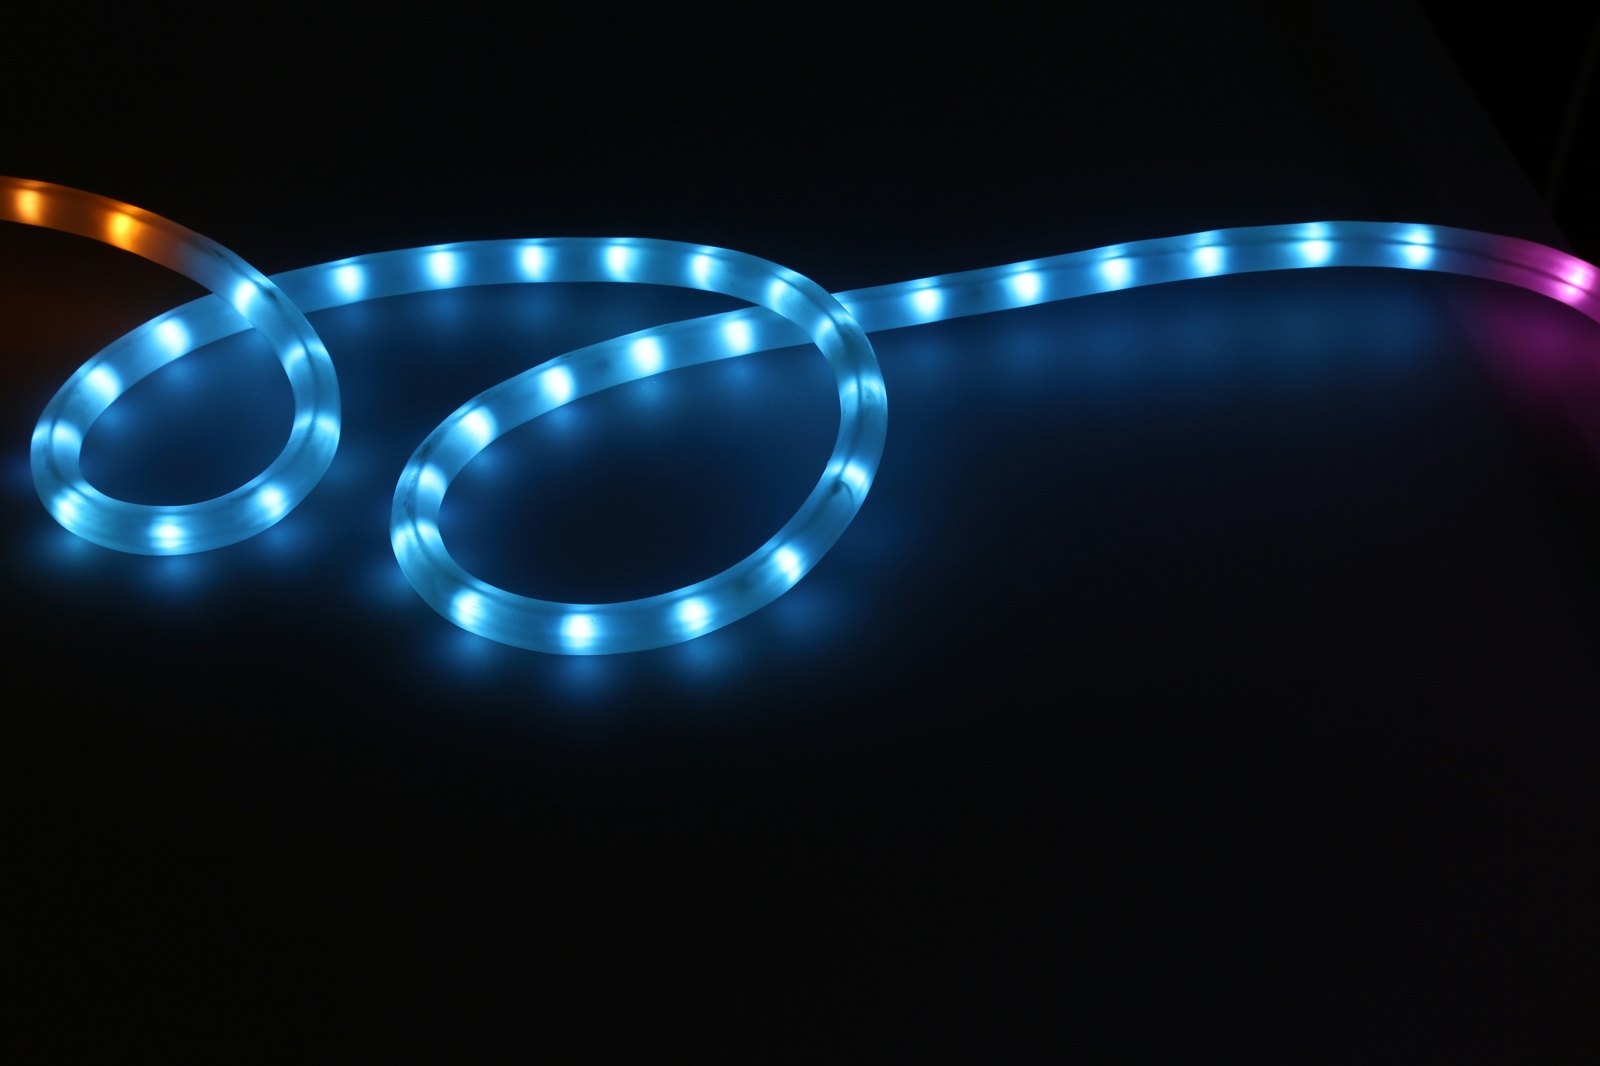
Adhesive is critical for holding the foam in place, and a low-temperature hot glue gun is recommended for this project. This type of glue gun is preferred because it provides a strong bond without the risk of melting the polystyrene foam, which can occur with high-temperature adhesives. For illumination, battery-operated LED strip lights are used rather than hardwired electrical components. A specific example cited in the project is the 3.3-foot echosari Battery-Operated LED Strip Lights, which includes a remote control and adhesive backing. These strips can be trimmed to fit the specific length of the dowel, making them versatile for various design scales.
Step-by-Step Assembly Process
The first step in the demonstrated method is preparing the foam elements. The Styrofoam balls should be painted using a brush and water-based acrylic paint. If spray paint is preferred, it is crucial to select a product specifically labeled as safe for polystyrene foam to prevent chemical damage to the material. While the foam dries, the focus shifts to the structural base. The wooden dowel must be securely attached to the sturdy base, ensuring it stands upright and remains stable before any additional weight is added. This stability is vital for the safety and longevity of the lamp.
Once the base is secure, the lighting strand is attached. The process begins at the wooden base and runs up the length of the dowel. The adhesive backing on the LED strip helps keep it firmly in place. The battery pack can be hidden behind the base for a cleaner look, or it can be glued down if a more permanent installation is desired. After the lights are in place, the painted Styrofoam balls are glued onto the dowel. The low-temperature hot glue gun is used to apply a small amount of adhesive to each ball, which is then pressed onto the wood. This step requires patience to ensure the balls are evenly spaced and securely attached, creating the intended organic shape.
Achieving the Organic Modern Aesthetic
The design philosophy behind this lamp aligns with the “organic modern” aesthetic, which emphasizes simplicity, natural materials, and functional beauty. The use of bare wood and foam shapes allows for a minimalist look that does not rely on complex ornamentation. Modern design often embraces the natural texture of materials, so the wooden dowel and base can be left unpainted to highlight the grain and warmth of the wood. Alternatively, they can be painted to match the foam elements for a more monochromatic effect. The goal is to create a piece that feels integrated into the room rather than overly decorative.
Lighting plays a significant role in achieving this ambiance. The soft glow from the LED lights is intended to add an intimate and inviting quality to the space. Unlike harsh overhead lighting, this type of fixture provides a localized source of warmth that can define a corner or accent a piece of furniture. The design is flexible, allowing for personalization through the choice of foam shapes and paint colors. Whether using spherical balls or sliced pool noodle sections, the arrangement of these elements on the dowel creates a unique visual pattern that contributes to the overall modern feel of the home.
Budget Considerations and Cost
One of the primary advantages of this DIY project is its low cost compared to purchasing a finished designer lamp. The materials required, such as a wooden dowel, foam balls, acrylic paint, and LED strip lights, are generally affordable and widely available at hardware stores and craft shops. The specific dowel mentioned, the 1-inch-by-36-inch Waddell Hardwood Square Dowel from Home Depot, represents a standard price point for such lumber products. Similarly, the 3.3-foot echosari Battery-Operated LED Strip Lights are a consumer-grade product designed for accessibility. By sourcing these items individually, a reader can keep the total project cost well under the price of a comparable commercial fixture, making it an accessible option for those on a tight budget.
The economic benefit extends beyond the initial purchase. Because the project uses basic materials, it is easy to repair or modify if needed. If a foam ball becomes damaged, it can be replaced or reattached without specialized tools or professional help. This durability and ease of maintenance add to the long-term value of the piece. For homeowners looking to update their decor without a major renovation, this type of project offers a practical way to introduce a new design element with minimal financial risk. The focus on simplicity in the design process also reduces the time and effort required, making it a feasible weekend task for most individuals.
Safety and Electrical Considerations
While the project is straightforward, safety considerations are important when working with electrical components and adhesives. The use of battery-operated LED strip lights eliminates the need for hardwired electrical connections, significantly reducing the risk of electrical hazards associated with traditional lamp construction. This makes the project safer for DIY enthusiasts who may not have experience with wiring. However, it is still important to handle the battery pack with care, ensuring it is securely positioned and not exposed to excessive heat or moisture. Hiding the battery pack behind the base or gluing it down helps keep it stable and out of the way.
When using the hot glue gun, it is essential to follow safety guidelines to prevent burns. A low-temperature model is recommended specifically to mitigate this risk and to protect the polystyrene foam from melting. Users should ensure the glue gun is placed on a heat-resistant surface when not in use and that fingers are kept away from the glue stream. Additionally, when painting the foam, proper ventilation is advised, especially if using any spray products. Even with water-based acrylics, working in a well-ventilated area is a good practice. By adhering to these safety measures, the project remains a low-risk activity that can be completed with confidence.
Context in Current DIY Trends
This project fits into a broader trend of DIY home decor that emphasizes sustainability and creativity. Recent lifestyle segments have highlighted the “thrift-store DIY hack” movement, where everyday, inexpensive objects are transformed into elevated decor pieces. For example, a lifestyle editor demonstrated how thin toilet paper, glue, and paint can be used to create textured surfaces on glass vases that resemble Japanese raku pottery. Similarly, dollar-store wooden plaques can be dressed up to look like decorative tile using a muddled paint technique. These examples illustrate a shift toward valuing the process of transformation over the cost of the materials. The Styrofoam lamp project aligns with this ethos by using simple, accessible materials to create a sophisticated result.
The emphasis on “organic modern” design also reflects a wider interest in natural materials and warm, inviting interiors. Designers have noted that warmer color palettes, such as beiges, reds, and yellows, are currently trending, moving away from cooler, more industrial tones. This preference for warmth and coziness is evident in the choice of wood and soft lighting for this lamp. The project offers a practical way for readers to participate in this design trend, allowing them to customize their space to reflect their personal style while keeping costs low. The availability of these materials in common retail stores makes it easy for anyone to start, regardless of their previous crafting experience.
Where to Find the Tutorial
For those interested in seeing the method in action, the original demonstration is available on TikTok under the username @diy_decoration_by_adisa. The video provides a visual guide to the assembly process, showing how the foam balls are attached and how the lights are integrated into the design. Following such tutorials can be helpful for understanding the specific techniques used, such as the spacing of the foam and the placement of the lighting strand. The video serves as a reference for readers who may want to replicate the exact look or adapt it to their own preferences. By watching the demonstration, users can gain insight into the flow of the project and the final aesthetic result.
Similar DIY trends are widely shared across social media platforms, where creators often post variations of this project using different shapes and materials. This community of makers encourages experimentation and innovation, allowing readers to find inspiration beyond the original tutorial. Whether using foam balls, hemispheres, or other shapes, the fundamental method remains the same: attach the lights to a wooden structure and cover or decorate it with foam elements. This adaptability is a key feature of the project, making it a versatile option for anyone looking to add a unique lighting fixture to their home. The simplicity of the design ensures that it can be executed by a wide range of skill levels, from beginners to experienced crafters.
The project offers a concrete way to enhance home lighting with a personal touch. By following the demonstrated method, readers can create a functional and stylish lamp that fits within the organic modern aesthetic. The use of affordable materials and simple tools makes this an accessible option for those looking to update their decor without a significant financial outlay. As with any DIY project involving lights and adhesives, taking time to follow safety guidelines and ensure stable assembly is important. The result is a piece that adds a soft glow and a decorative element to any room, contributing to a warmer and more inviting living environment. The availability of the tutorial on TikTok provides a clear reference for those ready to begin their own project.
Sources
- She Transforms Styrofoam Balls And Wood Into A Chic Way To Light Up Your Home – House Digest
- Interior design
- What’s new is old again: the thrift-store DIY hack elevating home decor
- These Charming Fall Centerpieces Belong on Your Table
- 11 Easy Ways to Make Your Kitchen Feel Cozier—Without a Major Renovation
- Recommendations for a Handmade Advent Calendar | A Little Daily Treat|NKcraft 菊地七夢
Photo: Saurabh R. Patil (CC BY-SA 3.0)